가입 관련된 accountapp을 만들었으니 profile을 생성하고 확인할 수 있는 profileapp을 만든다.
Profileapp은 accountapp에서 만들어둔 mypage 탭에 보여지면 된다.
흘러가는 흐름은 accountapp과 동일하다. 간략하게 정리하면 라우팅 > 모델설정 > CRUD 과정으로 진행된다.
하지만, 생각해보면 프로필 확인은 프로필 생성, 프로필 수정만 있으면 된다. 따라서 Create과 Update만 진행한다.
1. ProfileCreatView
python manage.py startapp profileapp
<pinterest_clone/settings.py>
profileap추가
INSTALLED_APPS = [
    'django.contrib.admin',
    'django.contrib.auth',
    'django.contrib.contenttypes',
    'django.contrib.sessions',
    'django.contrib.messages',
    'django.contrib.staticfiles',
    'accountapp',
    'bootstrap4',
    'profileapp',
]
<pinterest_clone/urls.py>
분기경로 추가
urlpatterns = [
    path('admin/', admin.site.urls),
    path('accounts/', include('accountapp.urls')),
    path('profiles/', include('profileapp.urls')),
]
<profileapp/urls.py파일추가>
라우팅 설정: create와 update만 만들면 될 것 같으니 일단 작성해 놓고 주석처리
app_name = "profileapp"

urlpattenrs = [
    # path('create/', ProfileCreateView.as_view(), name='create'),
    # path('update/', ProfileUpdateView.as_view(), name='update'),
]
<models.py: 모델설정>
user, nickname, image, message네개 필드를 갖는다.
user는 앞에서 만든 User한명당 1개의 Profile을 갖게 할 것이므로 OnetoOneField를 사용한다. on_delete는 부모로 연결된 User가 사라지면 어떻게 할거냐는 뜻으로 models.CASCADE를 설정해주면 같이 사라진다.
CharField는 글자다. ImageField는 이미지로 upload_to를 profile로 일단 작성해 준다.
from django.contrib.auth.models import User
from django.db import models

# Create your models here.
class Profile(models.Model):
    user = models.OneToOneField(User, on_delete=models.CASCADE, related_name='profile') #user한명당 profile 1개
    nickname = models.CharField(max_length=20, null=True)
    image = models.ImageField(upload_to='profile/', null=False) #static/media/profile폴더 안에 이미지 저장
    message = models.CharField(max_length=100, null=True)
django에서 image를 다루기 위해서는 media설정을 해줘야 한다. 이는 settings에서 진행한다. MEDIA_URL과 MEDIA_ROOT를 설정해 줘야 한다. 이전에 먼저 터미널에서 pip install pillow를 실행한다.
media 설정방법은 아래 링크 참조
Django
The web framework for perfectionists with deadlines.
docs.djangoproject.com
Django
The web framework for perfectionists with deadlines.
docs.djangoproject.com
<settings.py>
MEDIA_URL = 'media/' #이미지가 저장될 폴더
MEDIA_ROOT = os.path.join(BASE_DIR, 'media') #이미지가 저장될 폴더 경로
<pinterest_clone/urls.py>
from django.conf import settings
from django.conf.urls.static import static

urlpatterns = [
    path('admin/', admin.site.urls),
    path('accounts/', include('accountapp.urls')),
    path('profiles/', include('profileapp.urls')),
] + static(settings.MEDIA_URL, document_root=settings.MEDIA_ROOT) #이 문구를 써줘야 이미지를 웹상에 뿌릴 수 있음
이제 model설정까지 마쳤다. 결국 다른 부분은 다 동일하지만 image를 컨트롤 하기 위해 세팅을 추가한 부분이 다르다.
MEDIA_URL을 media로 설정 함으로써 이제 모든 이미지는 media폴더 안에 저장될 것이며, Proflie모델 안에 image필드에 upload_to로 경로를 설정해 뒀으니 해당 모델에서 사용되는 이미지는 media/profile 안에 저장될 것이다. 이후 views.py에 CreateView를 상속받아 ProfileCreateView를 만들어주고 urls.py도 create/부분을 활성화 시켜준다. 여기까지 완료된 후 모델 저장을 위해 터미널에서 python manage.py makemigrations > python manage.py migrate 까지 진행하여 모델 적용을 마친다.
<views.py>
아래와 같이 작성한다. ProfileCreateVeiw에 사용할 model은 Profile, template_name = 'profileapp/create.html'로 accountapp을 만들었을때와 동일하다. 하지만, form_class의 경우는 다르다. accountapp에서는 특별한 경우로 django에서 form을 제공해줬으나, 나머지 앱에서는 제공하지 않으므로 직접 만들어 사용해야 한다. 이름을 ProfileCreationForm이라고 만들어준다.
<profileapp/forms.py생성>
forms.py파일을 만들어 준 후 django의 ModelForm을 상속받는 ProfileCreationForm을 만들어주고 다음과 같이 작성한다.
해당 코드의 뜻은 주석처리했다.
from django.forms import ModelForm

from profileapp.models import Profile


class ProfileCreationForm(ModelForm):
    class Meta: #커스텀할때 Meta사용
        model = Profile #Profile모델을 사용할것이다
        fields = ['nickname', 'message', 'image'] #모델에서 이 필드만 화면에 보여줄거다
이후 views.py에 form관련 함수를 작성한다. 이유는 Profile함수를 만들때 user필드를 만들었는데 forrm에서 user정보를 사용한다고 명시하지 않았기 때문에 실행하면 오류가 나기 때문이다. 아래 최종 ProfileCreateView처럼 작성한다.
<최종 ProfileCreateView>
from django.shortcuts import render
from django.urls import reverse
from django.views.generic import CreateView

from profileapp.forms import ProfileCreationForm
from profileapp.models import Profile


# Create your views here.
class ProfileCreateView(CreateView):
    model = Profile
    form_class = ProfileCreationForm # user 제외한 form
    template_name = 'profileapp/create.html'

    # ProfileCreationForm에서 사용한다고 명시하지 않은 user에 대한 정보를 받아오기
    def form_valid(self, form):
        temp_profile = form.save(commit=False) #일단 폼 임시저장
        temp_profile.user = self.request.user #서버로부터 user정보 받아와서 폼에 적용
        temp_profile.save() # 받아온 상태로 저장
        return super().form_valid(form) #저장한 폼 실행

    # 생성 후 돌아갈 url설정
    def get_success_url(self):
        return reverse('accountapp:detail', kwargs={'pk': self.object.user.pk})
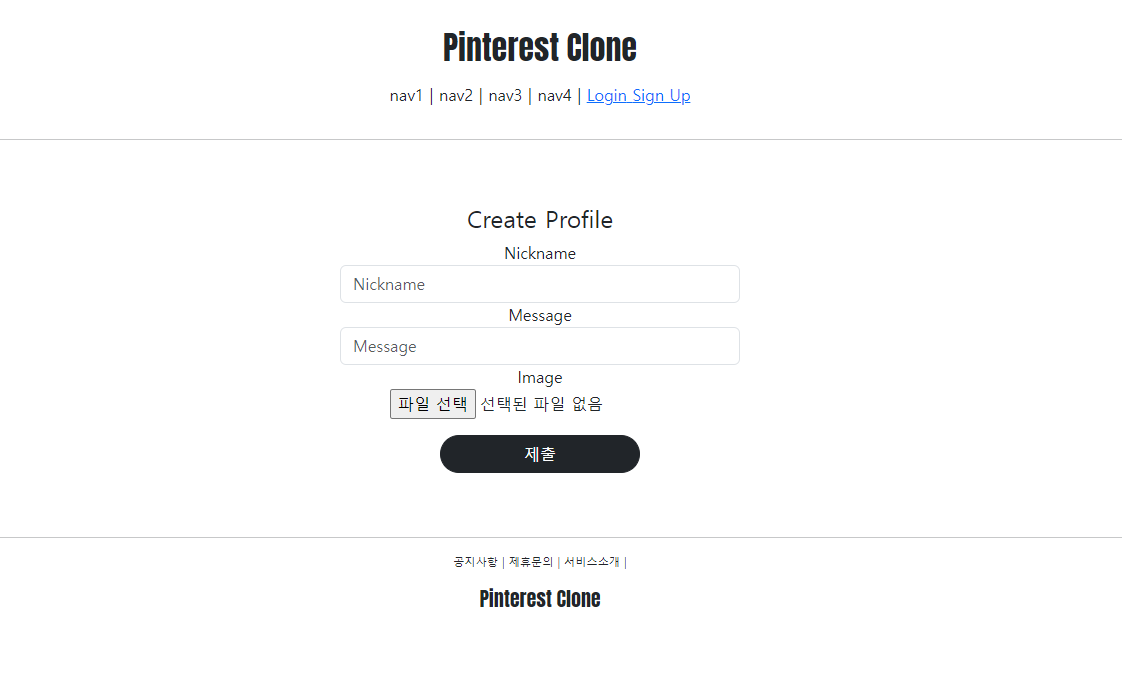
<template/profileapp/create.html 생성>
accountapp의 create.html과 동일하게 파일을 만들어 준다. 몇몇 글자를 profileapp에 맞게 변경해준다. 꼭 필요한 부분은 Profile에는 이미지가 들어있기 때문에 form태그 내에 enctype을 명시해 주어야 한다.
{% extends 'base.html' %}
{% load bootstrap4 %}

{% block content %}

<div class="account_create">
  <div>
    <h4>Create Profile</h4>
  </div>

  # enctype명시!!!
  <form action="{% url 'profileapp:create' %}" method="post" enctype="multipart/form-data">
    {% csrf_token %}
    {% bootstrap_form form %}
    <input type="submit" class="btn btn-dark rounded-pill col-6 mt-3">
  </form>
</div>

{% endblock %}
이렇게 까지 진행하고 서버를 구동시키고 서버로 들어가면 다음과같은 화면이 나타난다.
<templates/accountapp/detail.html 수정>
프로필을 생성할 수 있게 만들었으니 이제 저 페이지로 이동할 수 있게 한다.
이는 mypage에 접속했을때 저 페이지로 이동할 수 있도록 한다.
{% extends 'base.html' %}
{% block content %}
<div class="account_create">
{% if target_user == user %} # 서버의 유저와 해당 페이지의 유저가 같을때
{% if target_user.profile %} # 프로필이 있으면
<img src="{{ target_user.profile.image.url }}" alt=""> # 이미지
<p>{{ target_user.profile.nickname }}</p> # 닉네임
<p>{{ target_user.profile.message }}</p> # 메세지
# 계정update / delete 버튼
<div>
<a href="{% url 'accountapp:update' pk=target_user.pk %}" class="btn btn-dark rounded-pill mt-3">
Change
</a>
<a href="{% url 'accountapp:delete' pk=target_user.pk %}" class="btn btn-danger rounded-pill mt-3">
Quit
</a>
</div>
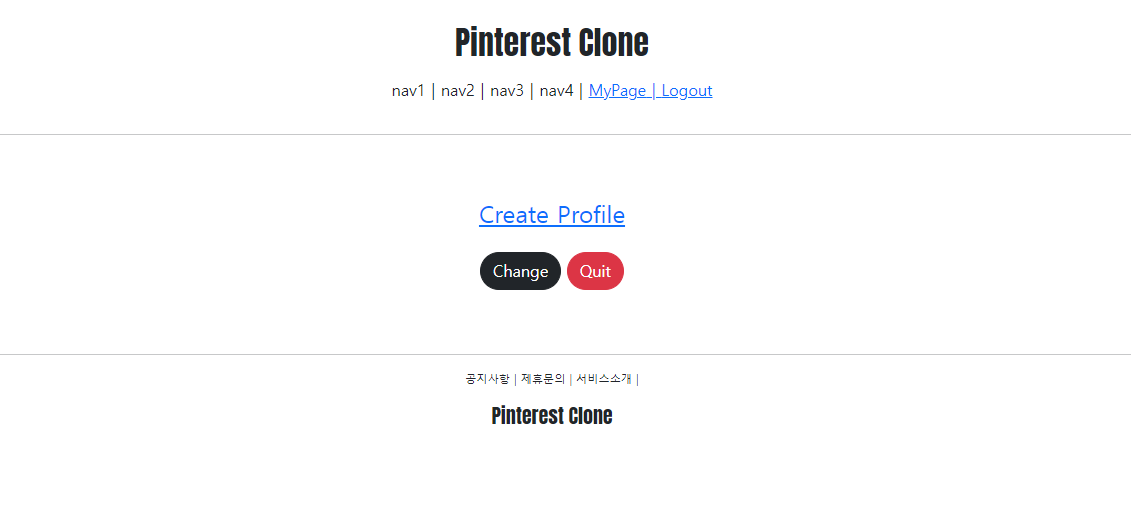
{% else %} # 프로필이 없으면
<h4>
<a href="{% url 'profileapp:create' %}">Create Profile</a> #프로필 만들기로 이동
</h4>
# 계정 update / delete 버튼
<div>
<a href="{% url 'accountapp:update' pk=target_user.pk %}" class="btn btn-dark rounded-pill mt-3">
Change
</a>
<a href="{% url 'accountapp:delete' pk=target_user.pk %}" class="btn btn-danger rounded-pill mt-3">
Quit
</a>
</div>
{% endif %}
{% else %} # 서버 유저랑 해당 페이지 유저랑 다를때
{% if target_user.profile %} # 해당 페이지 유저가 프로필이 있으면
<img src="{{ target_user.profile.image.url }}" alt=""> # 이미지
<p>{{ target_user.profile.nickname }}</p> # 닉네임
<p>{{ target_user.profile.message }}</p> # 메세지
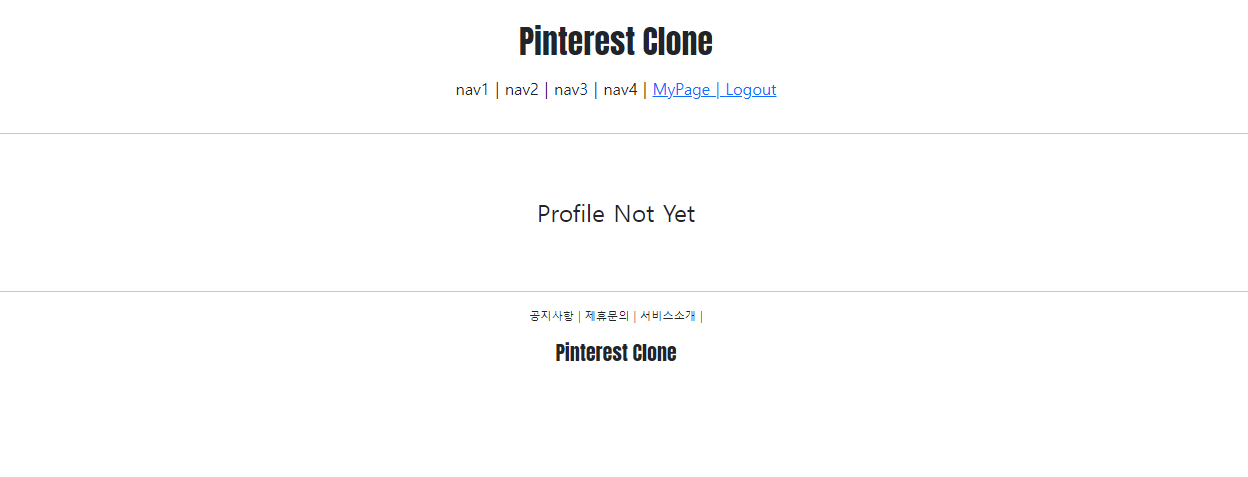
{% else %} #해당 페이지 유저가 프로필이 없으면
<h4>Profile Not Yet</h4> # 아직 없음 출력
{% endif %}
{% endif %}
</div>
{% endblock %}
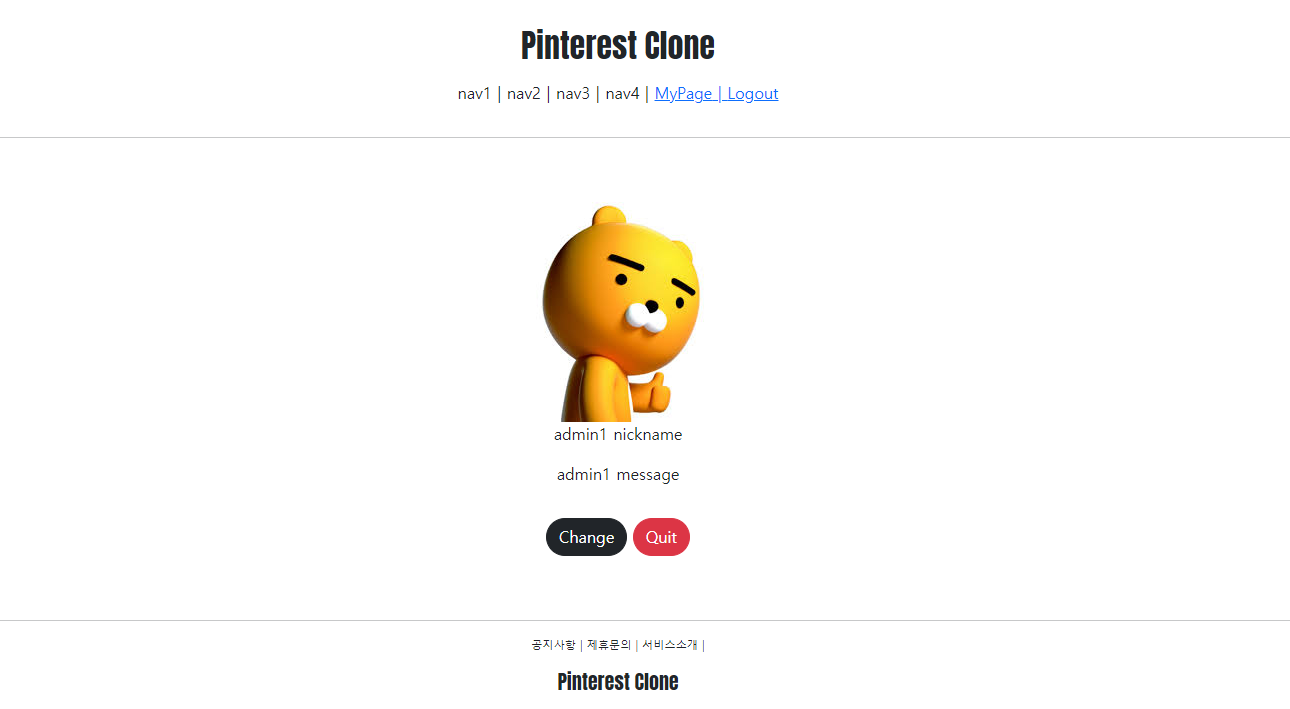
<결과: 해당 유저와 서버 유저가 같을때>
<결과: 해당 유저와 서버유저가 다를때>
<결과: 해당유저와 서버유저가 같은데 프로필이 없을때>
<결과: 해당 유저와 서버유저가 다른데 프로필이 있을때>
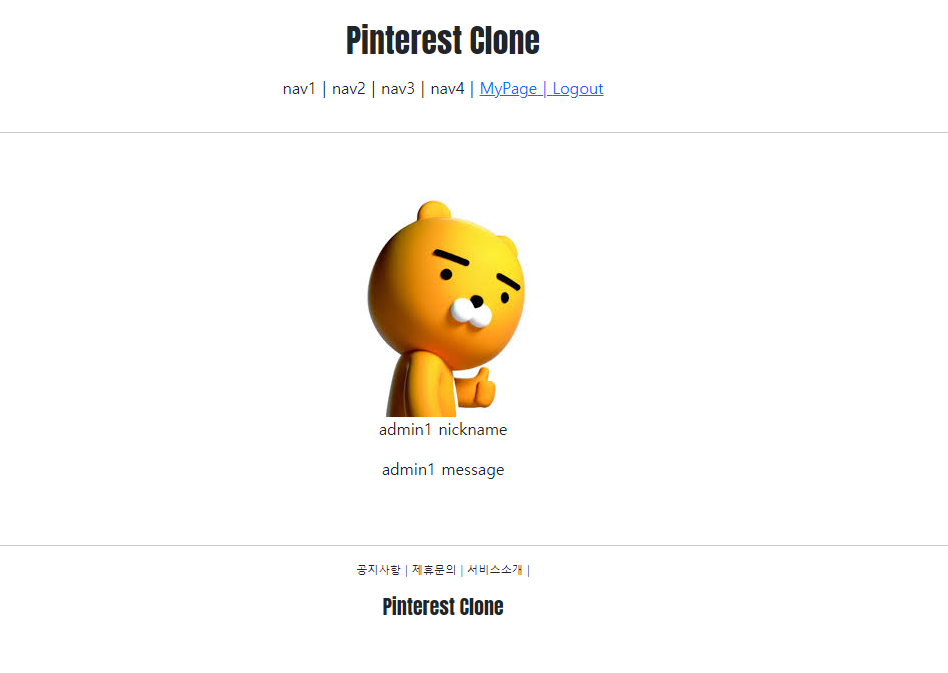
잘 적용된 것을 알 수 있다. 간격 등은 style과 css활용해서 잘 맞춰준다.
2. ProfileUpdateview
accountapp의 updateview와 동일하게 만들어준다.
<views.py>
class ProfileUpdateView(UpdateView):
    model = Profile
    context_object_name = 'target_profile'
    form_class = ProfileCreationForm
    template_name = 'profileapp/update.html'

    def get_success_url(self):
        return reverse('accountapp:detail', kwargs={'pk': self.object.user.pk})
<urls.py>
from django.urls import path
from profileapp.views import ProfileCreateView, ProfileUpdateView
app_name = "profileapp"
urlpatterns = [
path('create/', ProfileCreateView.as_view(), name='create'),
path('update/<int:pk>', ProfileUpdateView.as_view(), name='update'),
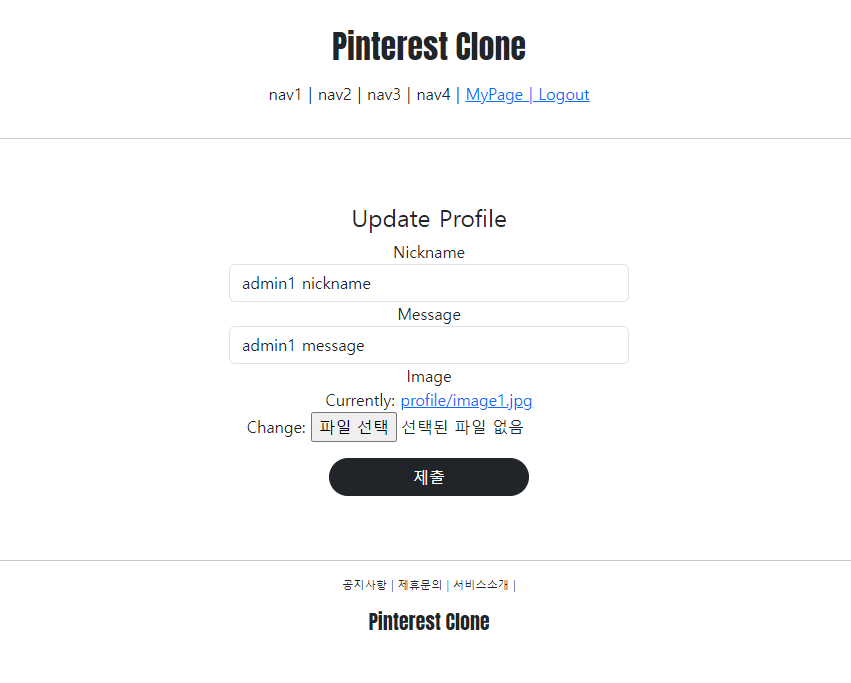
]<update.html>
{% extends 'base.html' %}
{% load bootstrap4 %}

{% block content %}

<div class="account_create">
  <div>
    <h4>
      Update Profile
    </h4>
  </div>
  <form action="{% url 'profileapp:update' pk=target_profile.pk%}" method="post" enctype="multipart/form-data">
    {% csrf_token %}
    {% bootstrap_form form %}
    <input type="submit" class="btn btn-dark rounded-pill col-6 mt-3">
  </form>
</div>

{% endblock %}
<결과화면>
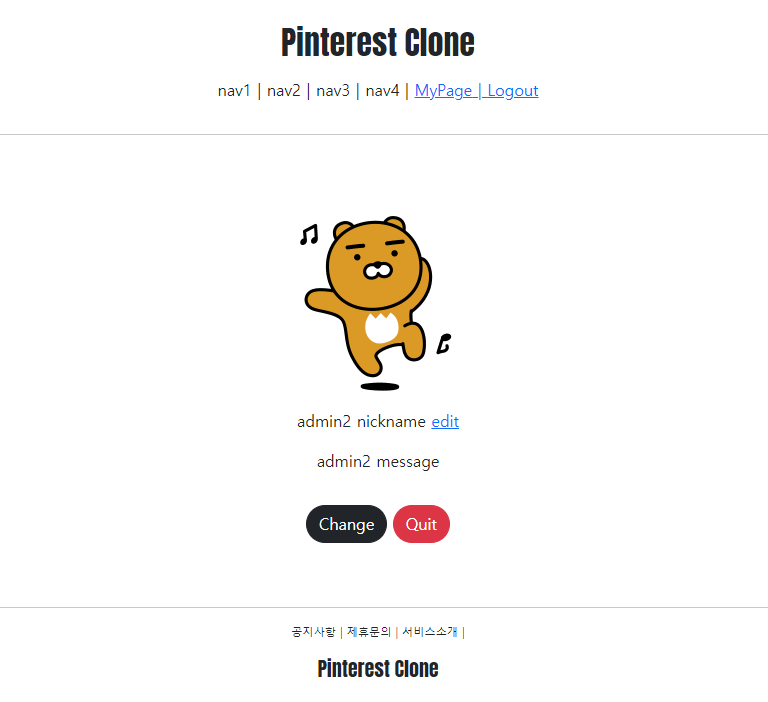
그렇다면 이제 update로 들어갈 수 있는 링크를 만들어준다.
accountapp/detail.html에서 서버의 user와 해당페이지의 user가 같고, 프로필이 있는 사람의 경우만 update 버튼이 보이게 한다.
<accounapp/detail.html 수정>
{% if target_user == user %}
  {% if target_user.profile %}
    <img src="{{ target_user.profile.image.url }}" alt="">
    <p> # 코드수정
      {{ target_user.profile.nickname }}
      <a href="{% url 'profileapp:update' pk=target_user.profile.pk %}">edit</a>
    </p>
    <p>{{ target_user.profile.message }}</p>
    <div>
      <a href="{% url 'accountapp:update' pk=target_user.pk %}" class="btn btn-dark rounded-pill mt-3">
        Change
      </a>
      <a href="{% url 'accountapp:delete' pk=target_user.pk %}" class="btn btn-danger rounded-pill mt-3">
        Quit
      </a>
    </div>
  {% else %}
<결과>
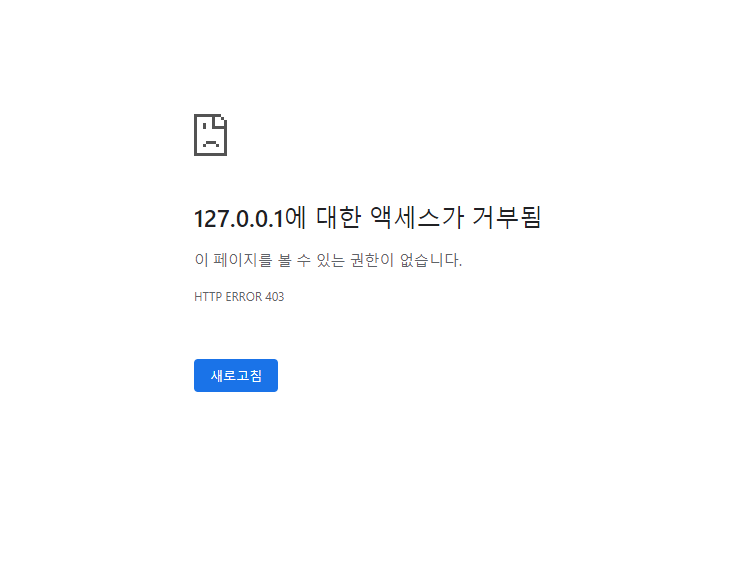
accountapp의 update와 마찬가지로 update는 서버의 유저와 현재 페이지의 유저가 같아야만 진행할 수 있다.
버튼을 만들어준것과 별개로 url로 직접 들어갔을때에 위의 조건에 걸리도록 지정해 줘야한다.
이를위해 decorator를 설정한다. login_required와 직접만든 decorator를 설정해준다.
전에 했던것과 마찬가지로 적용할 인증과정들을 담은 has_required리스트를 만들어 method_decorator를 통해 ProfileUpdateview에 적용한다.
<decorators.py>
from django.http import HttpResponseForbidden

from profileapp.models import Profile


def profile_ownership_required(func):
    def decorated(request, *args, **kwargs):
        profile = Profile.objects.get(pk=kwargs['pk'])
        if profile.user == request.user:
           return func(request, *args, **kwargs)
        return HttpResponseForbidden()
    return decorated
<views.py>
has_ownership = [
    login_required,
    profile_ownership_required,
]
@method_decorator(has_ownership, 'get')
@method_decorator(has_ownership, 'post')
class ProfileUpdateView(UpdateView):
    model = Profile
    context_object_name = 'target_profile'
    form_class = ProfileCreationForm
    template_name = 'profileapp/update.html'

    def get_success_url(self):
        return reverse('accountapp:detail', kwargs={'pk': self.object.user.pk})
내 아이디 말고 다른사람의 아이디를 update하려고 할때 엑세스 거부
'FrameWork > pinterest clone' 카테고리의 다른 글
| 10. Projectapp 만들기 (0) | 2023.07.24 |
|---|---|
| 9. articleapp만들기 (0) | 2023.07.22 |
| 7. accountapp 만들기 (0) | 2023.07.20 |
| 6. 기초 스타일링(2) (0) | 2023.07.19 |
| 5. 기초 스타일링(1) (0) | 2023.07.19 |


